


Table of Contents
Handstand progression is the process of learning a freestanding handstand through stages you can already do, starting with a hollow-body hold on the floor and wall drills long before you balance on your own. Kicking up and hoping to hover rarely lasts, because a handstand is a specific skill built from a straight body line and constant balance corrections. Raw strength alone will not hold you up.
Most beginners kick up against a wall a few times, get tired, and give up without a plan. A staged progression works better. You train the body shape, then the shoulder strength, then the balance, one measurable target at a time. A specific if-then practice plan also beats a vague intention to get better, because tying practice to a set time and place raises your odds of showing up. The stages below take you from a floor hold to a ten-second freestanding handstand, built the same patient way as your first pull-up.
Key takeaways
A handstand is mostly balance, built in stages on the floor and the wall before it needs much strength.
The progression climbs from a hollow-body hold through wall holds and kick-ups to a freestanding balance.
Practising three to four times a week in short sessions beats one long weekly attempt.
In Griply you set the handstand as one goal, break it into milestone subgoals, and attach a practice habit.
The plan, stage by stage
Here is the whole plan before you start. Each stage has one target to hit before you move to the next, so you always know where you are and what to work on today.
Stage | Target to hit before moving on | Rough time |
|---|---|---|
1. Hollow-body hold | Hold for 30 seconds | 1-2 weeks |
2. Pike shoulder strength | 30-second pike hold or 10 pike push-ups | 2-3 weeks |
3. Wall walks | 5 reps to nose-to-wall, 10-second hold | 2-3 weeks |
4. Chest-to-wall hold | Hold for 30 seconds | 2-4 weeks |
5. Kick-up practice | 5 clean kick-ups, 20 to 30-second hold | 3-5 weeks |
6. Safe bails | 5 controlled exits to each side | alongside kick-ups |
7. Freestanding balance | 5-second freestanding hold | 4-8 weeks |
8. Freestanding handstand | 10-second freestanding hold | the goal |
Most beginners reach a ten-second freestanding hold in three to six months. Warm up your wrists and shoulders before every session, and train the early stages together, so you can hold a hollow body and build pike strength in the same weeks.
Your weekly routine
Whichever stage you are on, the session has the same shape, so you never have to guess. Practise three to four times a week, in short sessions of 10 to 15 minutes. Each session is:
2 minutes of wrist rocks and a shoulder stretch to warm up.
3 to 5 rounds of your current stage's move (a wall hold, a set of kick-ups, and so on).
About 1 minute rest between rounds, stopping before your form slips.
Stop each session before you are drained, since fresh practice keeps your kick-ups controlled and your holds tight. Move up to the next stage the day you can hit its target twice on a fresh day.
How to do each move
Warm up first, every time. Spend two minutes on wrist rocks and a shoulder stretch, because your wrists take your full bodyweight upside down. Then work your current stage.
1. Hollow-body hold
Lie on your back, press your lower back into the floor, and lift your shoulders and legs a few inches with your arms overhead. This trains the tight, slightly rounded line a straight handstand needs. Bend your knees or lower your arms if it is too hard.
2. Pike shoulder strength
From a downward-dog pike, walk your feet toward your hands so your hips stack over your shoulders, and push the floor away with your ears past your arms. This builds the overhead strength to hold your weight before you invert. For the pike push-up option, from that same pike bend your elbows to lower the crown of your head toward the floor between your hands, then press back up.
3. Wall walks
Start in a plank with your feet against the wall. Walk your feet up the wall and your hands toward it until your chest is close and your body is vertical, then walk back down under control.
4. Chest-to-wall hold
Face the wall with your hands about 15cm from it, then walk or kick up until your stomach and toes touch the wall. Squeeze your legs together, point your toes, and push tall through your shoulders. Holding the position builds the strength to hold it, so treat these seconds as training.
5. Kick-up practice
With your back to the wall and hands about 15cm out, step into a lunge and kick your lead leg up while the other follows, catching your heels lightly on the wall. Keep your arms straight and your head neutral. A clean kick-up is controlled: locked arms, your heels tapping the wall softly, and your hips stacking over your shoulders.
6. Safe bails
If you tip past your balance, turn your hips and one hand a quarter-turn and step down sideways like a cartwheel, landing on your feet. Practising the exit removes the fear that stops most beginners kicking up.
7. Freestanding balance
Kick up away from the wall and balance with your fingertips. Press the floor with your fingers to stop tipping forward, and ease off toward your palm to stop falling back. Expect small constant corrections, since the hold is never perfectly still.
8. Freestanding handstand
Kick up to your balance point, stack your hips over your shoulders over your hands, and make tiny finger adjustments to stay there. This combines the line from your wall work with the balance from your drills.
Make each stage a little harder every week: a few more seconds, a cleaner line, less weight on the wall. You are ready to move up when you can hit the stage target twice on a fresh day. Giving each stage a number keeps you honest about when you have earned the next one.
Why it feels impossible
A handstand is hard because you are balancing your whole body on your hands while upside down, using muscles and reflexes you rarely train that way. You change that by building the pieces separately: the body line on the floor, the shoulder strength in a pike, the balance against a wall. A handstand is a skill you build by repeating the movement, so practice matters more than getting generally fitter.
A ten-second hold is a clear, well-formed target: you can picture it, measure it, and know the moment you reach it. Framing the goal so it is specific and trackable is what keeps you practising when balance takes months to arrive. You cannot rush the day you float free of the wall. You can control whether you practise the stages that get you there.
Build the habit
Balance comes from frequent reminders to your body. Short practice spread across the week sticks better than one massed effort, which is why the plan spreads across three to four short sessions a week. Skill rewards frequency, so the reps stay fresh and your kick-ups stay controlled. A repeatable cue, routine, and reward loop for showing up, like a few minutes of handstand work after your warm-up each session, carries you between milestones.
Common mistakes
A few errors keep beginners stuck against the wall:
Letting your back arch into a "banana" shape. Squeeze your ribs down and your legs together to hold a straight, hollow line.
Looking back at your hands, which tips you off balance. Fix your eyes on the floor between them.
Bending your elbows to muscle the hold. Keep your arms locked and push tall through your shoulders.
Kicking up too hard and flinging past your balance point. A controlled kick lands softer and holds longer.
Holding your breath, which tightens you up. Breathe steadily through the hold.
Skipping the wrist warm-up, since your wrists take your full weight upside down.
Never practising bails. Learning to step out safely is what lets you commit away from the wall.
Set it up in Griply
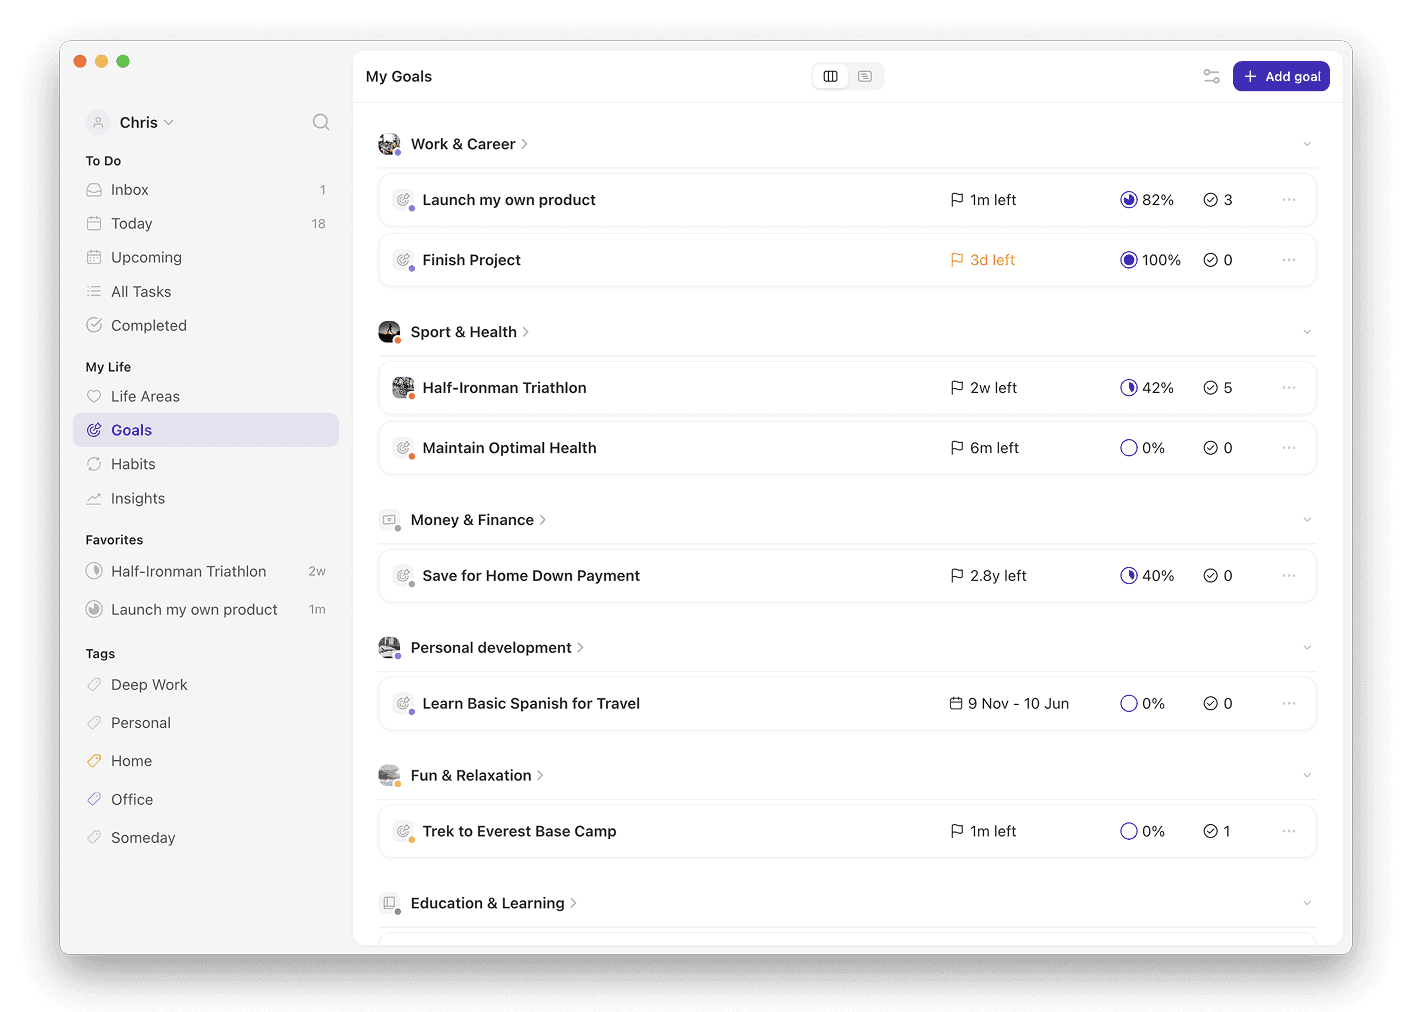
The hard part is rarely the plan. It is holding eight stages in one place and seeing whether your holds are getting longer. In Griply the whole progression becomes one scannable template under your Sport & Health life area:
Goal: Hold a 10-second handstand (metric: Subgoals, average)
Subgoal: hold a 30-second hollow body
Subgoal: hold a 30-second pike
Subgoal: 5 wall walks to nose-to-wall
Subgoal: hold a 30-second chest-to-wall handstand
Subgoal: 5 clean kick-ups
Subgoal: 5 controlled bails to each side
Subgoal: hold a 5-second freestanding handstand
Subgoal: hold a 10-second freestanding handstand
Habit: Handstand practice (schedule: 3 to 4 times a week)
You advance each stage as you build it, and the progress line averages your milestones, so it climbs from your very first week of practice, well before you balance free of the wall. The Goal Planner keeps the goal, its milestones, and the practice habit in one view, so the plan you just read becomes a template you can reuse for the next skill. Subgoals, habit targets, and progress charts are part of Griply's paid plan; the free plan covers two goals and two habits.
Frequently asked questions
How long does it take to learn a handstand?
Most beginners reach a ten-second freestanding hold in three to six months of consistent practice, depending on starting strength and how often you train. Practising three to four times a week and tracking each stage keeps the timeline realistic.
Can you learn a handstand at home without a coach?
Yes. A clear wall and a bit of floor space are enough for every stage, from hollow holds to wall work to freestanding practice. A coach speeds up feedback, but the progression works on your own.
How many times a week should you practise handstands?
Three to four short sessions a week works best. A handstand is a skill, so frequent practice beats one long session, and shorter sessions keep your kick-ups and holds controlled.
Do you need to be strong to do a handstand?
You need enough shoulder strength to hold your weight overhead, which the pike and wall stages build. Beyond that, a handstand is mostly balance and body position, and raw power matters less.
When should you leave the wall?
Once you can hold a chest-to-wall handstand for 30 seconds with a straight line and do consistent kick-ups, start freestanding balance drills. Keep the wall nearby for bailing while you learn to balance.
Built at the wall
A freestanding handstand comes from practising the pieces in order: the body line on the floor, the strength in a pike, the balance against a wall, and finally the free hold. You build it a few minutes at a time, three or four times a week, tracking each stage until the next is in reach.
When you can watch your chest-to-wall hold climb past 30 seconds and your kick-ups land softly, the free handstand stops being a stunt and becomes the next number on the list. Every session gives you one target to beat, which keeps you practising on the days balance feels random. Once you hold ten seconds, the same method carries you to a straighter line and a longer hold, and on to the rest of your strength goals.
Related Goal Plans


Related Guides
Magallón S, Narbona J, Crespo-Eguílaz N. "Acquisition of Motor and Cognitive Skills through Repetition in Typically Developing Children." PLoS One, 2016. https://pmc.ncbi.nlm.nih.gov/articles/PMC4934913/
Benjamin AS, Tullis J. "What makes distributed practice effective?" Cognitive Psychology, 2010. https://pmc.ncbi.nlm.nih.gov/articles/PMC2930147/
Oranchuk DJ, Storey AG, Nelson AR, Cronin JB. "Isometric training and long-term adaptations: Effects of muscle length, intensity, and intent: A systematic review." Scandinavian Journal of Medicine & Science in Sports, 2019. https://pubmed.ncbi.nlm.nih.gov/30580468/
Gollwitzer PM, Sheeran P. "Implementation Intentions." National Cancer Institute, Health Behavior Constructs, 2008. https://cancercontrol.cancer.gov/sites/default/files/2020-06/goal_intent_attain.pdf